There are few desserts that capture the essence of sunshine and bright flavor quite like lemon bars. With their irresistible balance of tangy and sweet, nestled atop a buttery shortbread crust, they are a beloved classic for a reason. Whether you're a seasoned baker or just starting your culinary journey, mastering the lemon bars recipe is a delightful achievement. This comprehensive guide will take you beyond the basics, offering advanced tips, creative variations, and troubleshooting advice to ensure your lemon bars are nothing short of perfection.
Mastering the Classic Lemon Bars Recipe
At its heart, a classic lemon bar is a two-part symphony: a rich, crumbly shortbread base and a vibrant, custardy lemon filling. The beauty lies in the simplicity of the ingredients, yet the technique can make all the difference. To truly excel at any lemon bars recipe, you must first understand the fundamental components and their roles.
The shortbread crust provides a sturdy, buttery foundation that complements the tartness of the lemon. Its texture should be tender but firm enough to hold the filling. The lemon filling, on the other hand, is the star of the show. It should be smooth, intensely flavored with fresh lemon, and have a delightful jiggle when perfectly baked, setting into a soft, melt-in-your-mouth custard.
If you're looking for a foundational recipe to get started, our lemon bars recipe - Article 1 provides an excellent, step-by-step guide to the classic version. Building upon that foundation, we'll now explore how to refine your technique and achieve truly exceptional results every time.
Elevating Your Lemon Bars: Tips for Perfection
Turning a good lemon bar into a great one often comes down to a few critical techniques and attention to detail. Here’s how to perfect every aspect of your favorite lemon bars recipe.
Achieving the Perfect Crust
- Cold Butter is Key: Just like with pie crusts, using very cold, cubed butter for your shortbread ensures a tender, flaky texture. The cold butter creates pockets of steam as it melts, preventing a tough crust.
- Don't Overmix: Mix the ingredients for the crust just until they come together. Overworking the dough develops the gluten, leading to a tough, less crumbly crust. A food processor can make quick work of this, but be careful not to pulse too long.
- Press Evenly: When pressing the dough into your baking pan, aim for an even thickness across the bottom and slightly up the sides. This ensures even baking and prevents a soggy center or burnt edges.
- Pre-Bake the Crust: While some recipes skip this step, pre-baking the crust (often called blind baking) for 15-20 minutes before adding the filling is a game-changer. It helps prevent a soggy bottom by creating a barrier and gives the crust a head start in developing flavor and crispness. Don't forget to prick the crust with a fork to prevent puffing.
Crafting the Silky Smooth Lemon Filling
- Fresh Lemon Zest AND Juice: This is non-negotiable. Bottled lemon juice lacks the vibrant flavor and aroma of fresh lemons. The zest contains essential oils that contribute significantly to the overall lemon flavor profile. Don't skimp!
- Proper Egg Ratio: Eggs are crucial for the filling's structure and silkiness. Too few, and it will be runny; too many, and it can become rubbery or overly firm. Stick to the recipe's specified amount.
- Gentle Mixing: Once all filling ingredients are combined, mix gently until just smooth. Over-whipping can incorporate too much air, which might lead to cracks or a foamy texture on top during baking.
- Don't Overbake: This is perhaps the most common mistake. The lemon filling should still have a slight jiggle in the center when you remove it from the oven. It will continue to set as it cools. Overbaking leads to a dry, sometimes curdled texture and can cause cracking. A good sign it's done is when the edges are set and lightly golden.
- Water Bath (Optional but Recommended): For an ultra-silky, crack-free filling, consider baking your lemon bars in a water bath (bain-marie). Place your baking pan inside a larger roasting pan, then carefully pour hot water into the larger pan until it comes halfway up the sides of the smaller pan. This provides gentle, even heat, preventing the edges from cooking faster than the center.
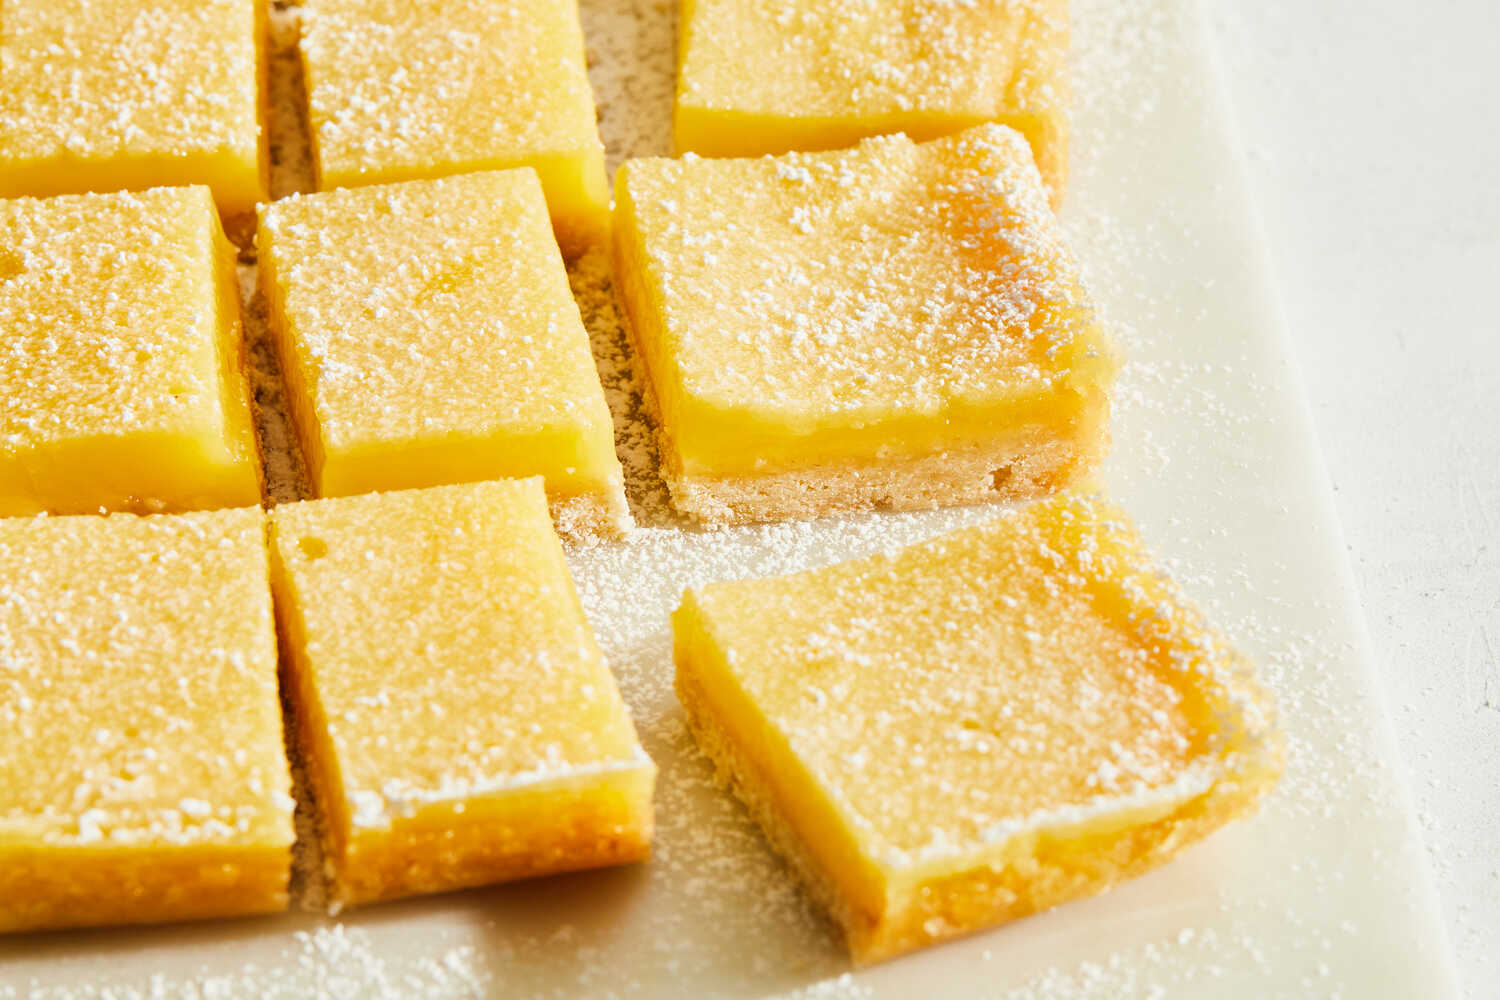
The Art of Dusting
Powdered sugar is the classic finishing touch. Always wait until the bars are completely cool before dusting, or the sugar will melt and disappear. For a beautiful, even coating, use a fine-mesh sieve.
Creative Twists and Variations for Your Lemon Bars Recipe
While the classic is undeniably delicious, the lemon bars recipe is also incredibly versatile. Experimenting with different flavors and textures can lead to exciting new dessert experiences. For even more detailed variations, be sure to check out our lemon bars recipe - Article 2.
Fruity Additions
- Raspberry Lemon Bars: Dot fresh or frozen (not thawed) raspberries over the pre-baked crust before pouring in the lemon filling. The berries burst with flavor, adding a lovely tart-sweet counterpoint.
- Blueberry Lemon Bars: Similar to raspberries, blueberries add a burst of sweetness and a beautiful color. Toss them lightly in a teaspoon of flour before adding to prevent them from sinking entirely.
- Cranberry Orange Lemon Bars: A winter twist! Substitute some of the lemon juice for orange juice and add dried cranberries to the filling or fresh cranberries to the crust.
Nutty or Coconut Variations
- Almond Lemon Bars: Replace a portion (1/4 to 1/2 cup) of the all-purpose flour in the crust with almond flour for a subtle nutty flavor. You can also sprinkle sliced almonds on top of the filling during the last 10 minutes of baking.
- Coconut Lemon Bars: Add shredded coconut to the shortbread crust or sprinkle it over the filling before baking for a tropical flair. Toasted coconut is especially delightful.
Spiced or Herbal Infusions
- Ginger Lemon Bars: Add a teaspoon of ground ginger to the shortbread crust or finely grated fresh ginger to the lemon filling for a warm, spicy kick.
- Rosemary or Thyme Lemon Bars: For an unexpectedly sophisticated flavor, infuse the sugar for the filling with a sprig of fresh rosemary or thyme for an hour or two, then remove the herb before proceeding. Or, finely mince a tiny amount of fresh herb and add directly to the filling.
Gluten-Free & Vegan Alternatives
It's entirely possible to adapt your favorite lemon bars recipe for dietary needs. For gluten-free, substitute a 1:1 gluten-free flour blend for the all-purpose flour in the crust. For vegan lemon bars, use a plant-based butter alternative for the crust and a combination of lemon juice, cornstarch, and silken tofu or full-fat coconut milk (chilled overnight) for the filling, often with a touch of turmeric for color.
Troubleshooting Common Lemon Bar Issues
Even experienced bakers encounter challenges. Here are solutions to common problems you might face with your lemon bars recipe:
- Soggy Crust:
- Cause: Under-baked crust, crust not pre-baked, or too much moisture from the filling soaking in.
- Fix: Always pre-bake your crust. Ensure it's golden and firm before adding the filling. Consider baking your bars on a lower rack for the last portion of baking to give the bottom more heat.
- Runny Filling:
- Cause: Under-baked, incorrect egg-to-liquid ratio, or not enough thickener (flour/cornstarch).
- Fix: Ensure proper baking time; the filling should jiggle slightly but not slosh. If you've modified the recipe, double-check ingredient ratios. For future batches, a tablespoon more flour or cornstarch can help.
- Cracked Surface:
- Cause: Overbaking, rapid cooling, or temperature fluctuations.
- Fix: Remove bars from the oven when they still have a slight jiggle. Allow them to cool gradually, first on a wire rack at room temperature, then in the refrigerator. A water bath (as mentioned above) is excellent for preventing cracks.
- Overly Tart or Sweet Filling:
- Cause: Imbalance of lemon juice and sugar.
- Fix: Taste your filling mixture before baking (carefully, it contains raw egg). Adjust lemon juice or sugar as needed. Remember, the tartness is a hallmark, so don't completely eliminate it.
Storing and Serving Your Perfect Lemon Bars
Once your lemon bars are perfectly baked and cooled, proper storage is key to maintaining their fresh taste and texture.
- Cooling: It's crucial to let lemon bars cool completely before cutting. This can take several hours at room temperature, and even longer if you refrigerate them. Patience here prevents a messy, crumbled disaster.
- Refrigeration: Due to their custardy filling, lemon bars must be stored in an airtight container in the refrigerator. They will last beautifully for 3-5 days.
- Freezing: Lemon bars freeze exceptionally well! Once completely cooled and cut, arrange them in a single layer on a parchment-lined baking sheet and freeze until solid. Then, transfer them to an airtight container or freezer bag, separating layers with parchment paper. They can be frozen for up to 3 months. Thaw in the refrigerator or at room temperature.
- Serving Suggestions: While simply dusted with powdered sugar is classic, you can elevate presentation with a fresh raspberry or a small dollop of whipped cream on each bar. They are perfect for potlucks, brunches, or an elegant afternoon treat.
The journey to creating the perfect lemon bar is a rewarding one. From understanding the foundational lemon bars recipe - Article 1 to exploring advanced tips and creative variations, you now have a comprehensive guide to achieve baking excellence. Remember that practice makes perfect, and each attempt brings you closer to your ideal tangy, sweet, and utterly irresistible lemon squares. So go ahead, zest some lemons, preheat your oven, and enjoy the delicious process of mastering this beloved dessert.
